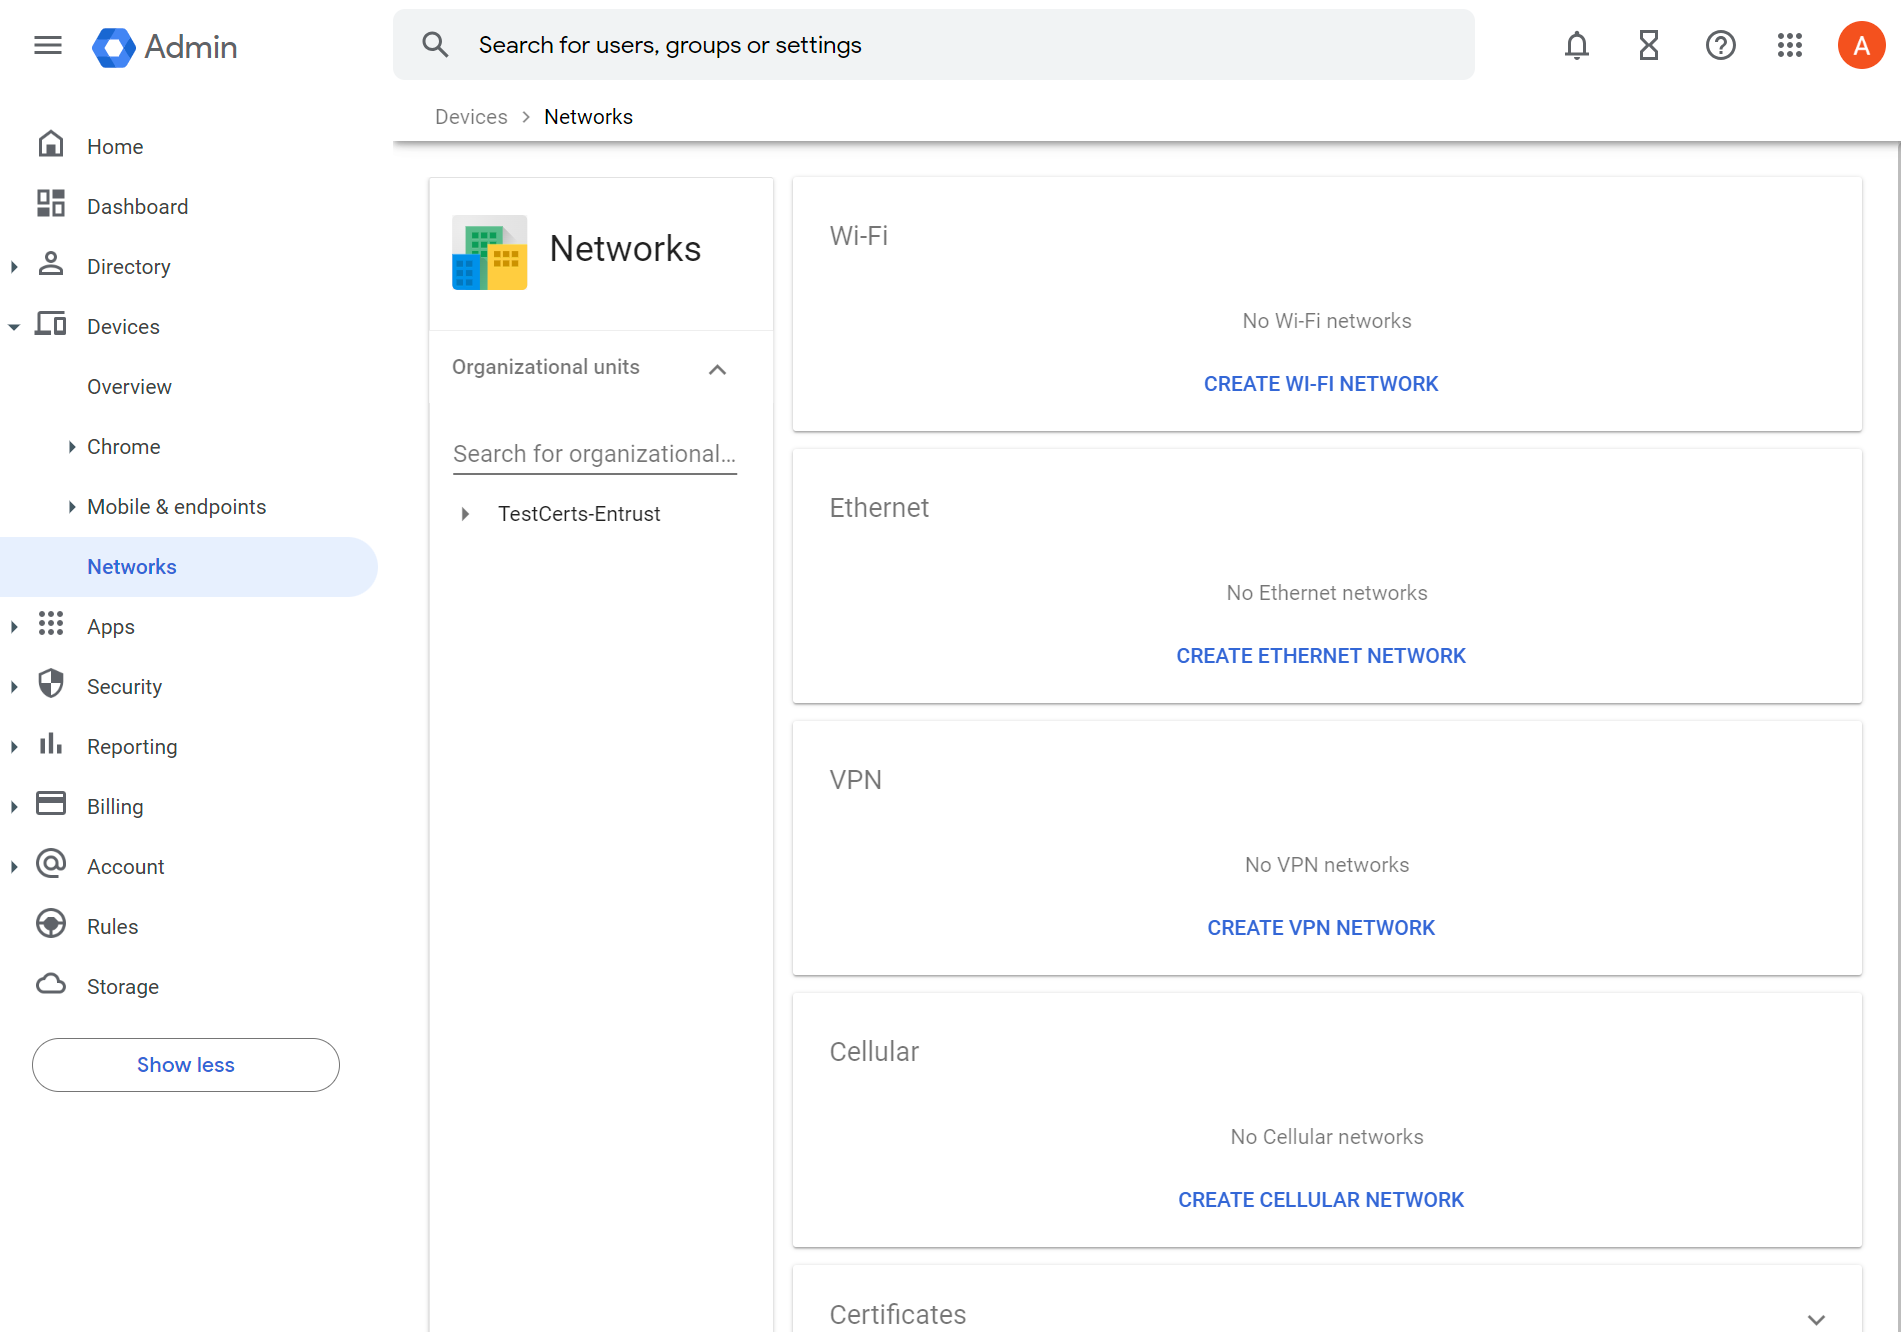
SCEP enrollment for ChromeOS is controlled using Google Admin, a Web-based interface for managing users and groups for an organization.
To configure Google Admin for SCEP enrollment
- Log in to Google Admin (https://admin.google.com).
- Navigate to Devices > Networks.
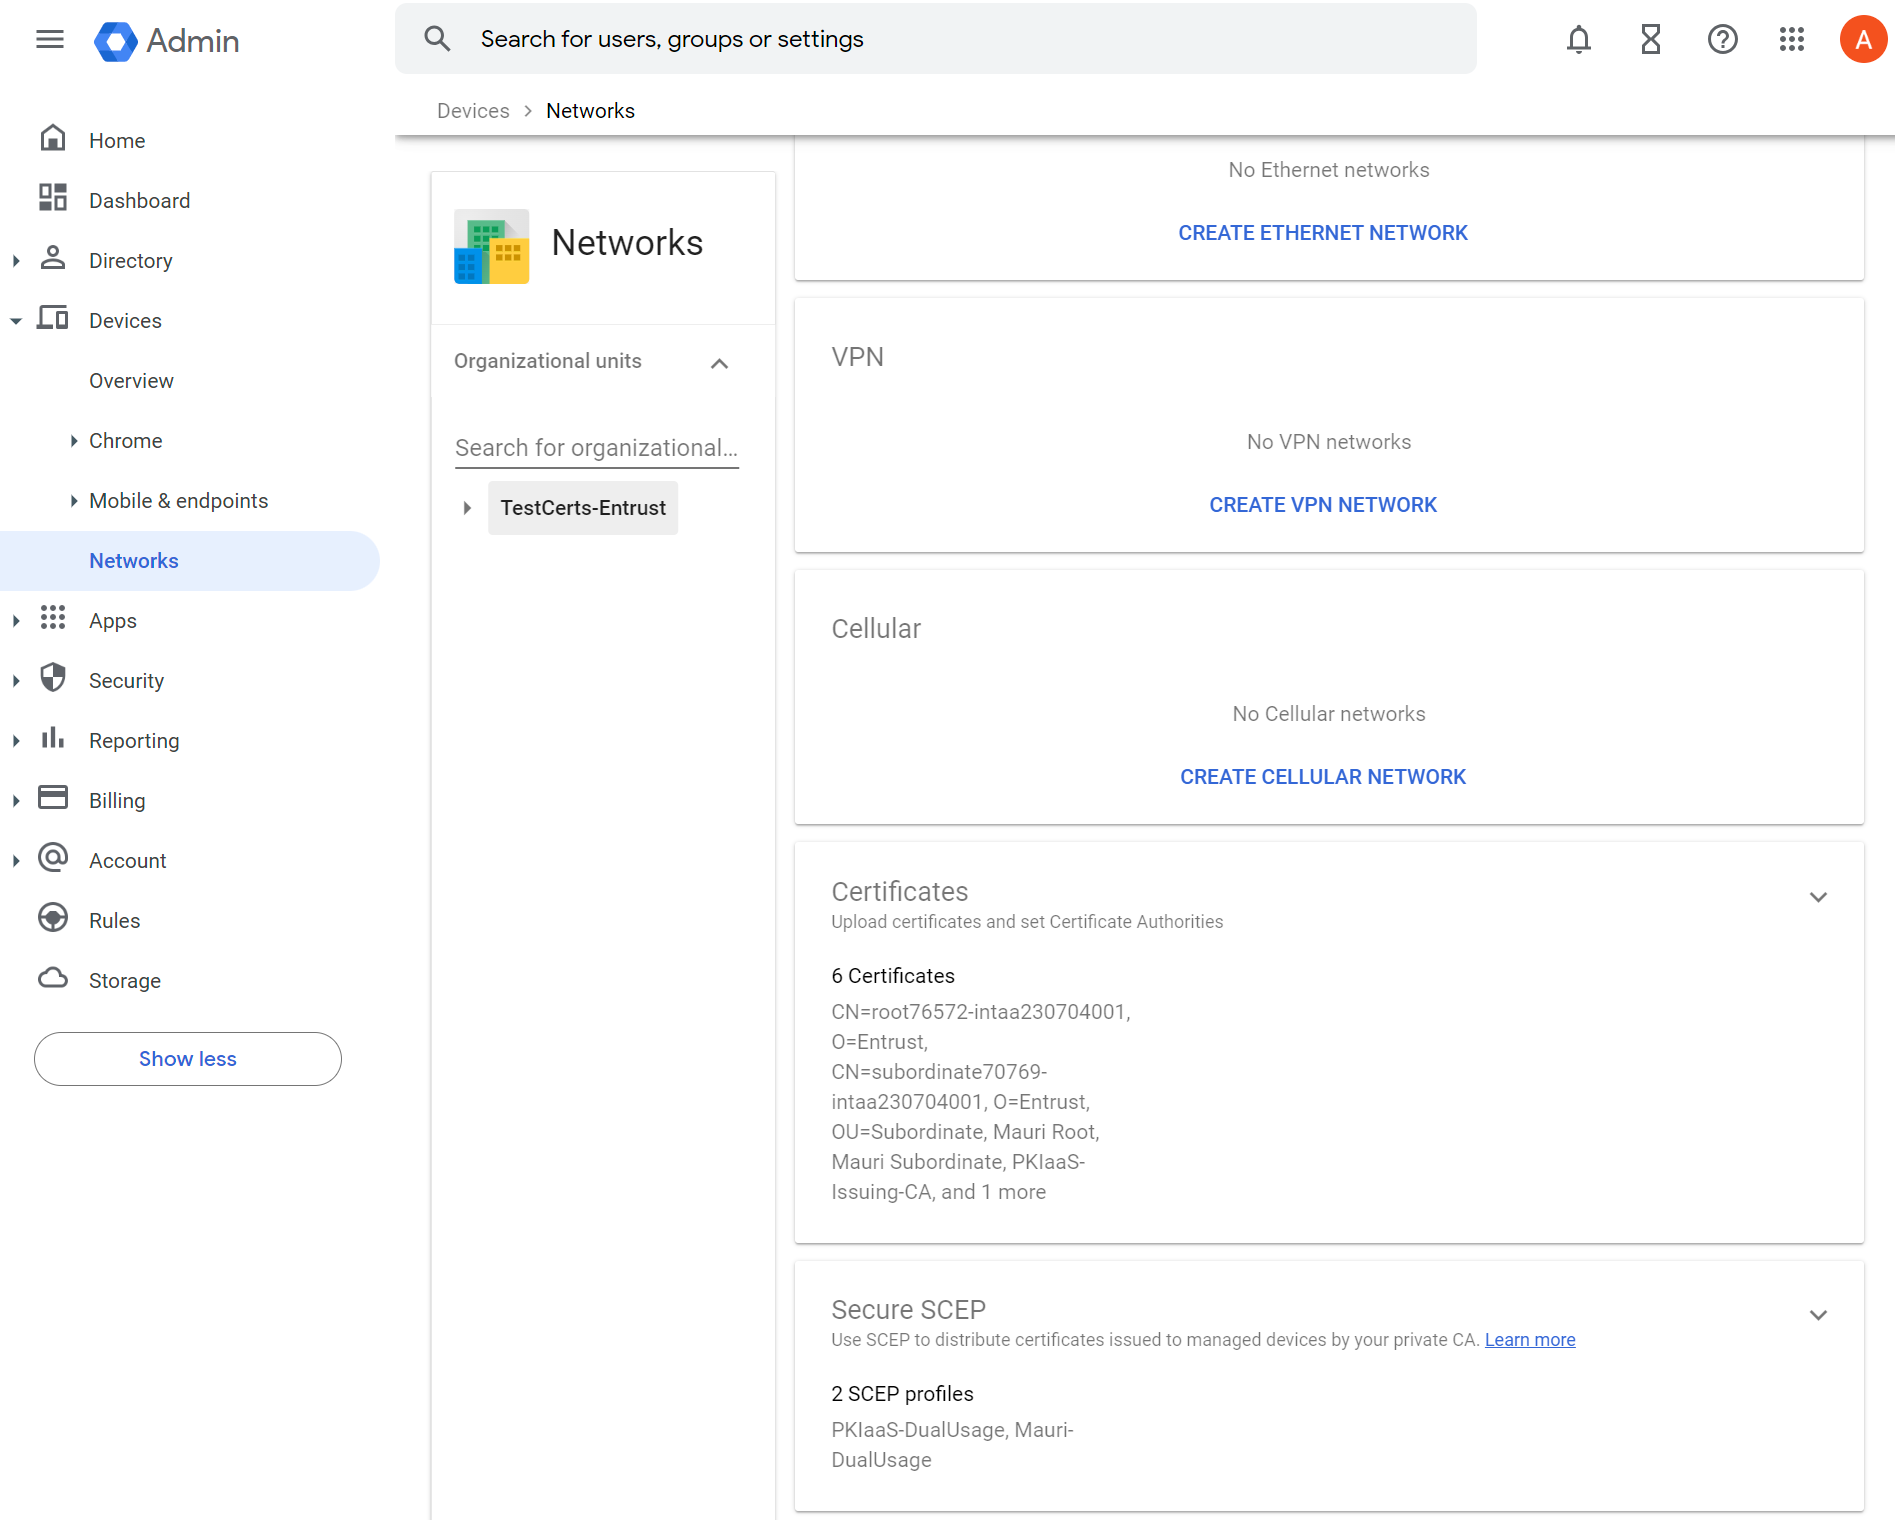
The Networks page appears. - Click on the Certificates pane.
The Certificates page appears. - Add the entire CA certificate chain (from the root CA to the issuing CA) for the Managed CA. To add a CA certificate:
- Click Add Certificate. The Add Certificate page appears.
- In the Name field, enter a unique friendly name for the CA certificate,
- Click Upload and then select the CA certificate you want to upload.
- Select Chromebook.
- Click Add.
- Navigate to Devices > Networks.
- The Networks page appears.
- Click on the Secure SCEP pane.
The Secure SCEP page appears. - Create a SCEP profile:
- Click ADD SECURE SCEP PROFILE. The Edit Secure SCEP page appears.
- For Device platforms, select the Chromebook platforms that will enroll for a certificate over SCEP:
- Select Chromebook (user) for Chromebook users.
- Select Chromebook (device) for Chromebook devices.
- For SCEP profile name, enter a unique name for the SCEP profile.
For Subject name format, define the desired Subject Name format.
The key usages you specify in the SCEP profile must match the certificate profile used in the SCEP server URL (SCEP enrollment URL). For example, if both Key encipherment and Signing are selected, then the certificate profile used in the SCEP server URL must include both encryption and signing key usages. For example in Entrust PKI as a Service (PKIaaS) deployments, if both Key encipherment and Signing are selected, then the certificate profile used in the SCEP server URL must bescep-digital-signature-key-encipherment.- For Key Usage, select each key usage that will be included in the issued certificates.
- For Key size (bits), select a key size for the issued certificates.
- For Security, select the security level (attestation requirement) for the issued certificates.
- In the SCEP server URL field, enter the CEG SCEP Service URL.
- For Certificate validity period (years), enter a lifetime (in years).
The certificate validity period will be ignored for SCEP enrollment with Certificate Enrollment Gateway. The lifetime for issued certificates is controlled by the issuing CA. For Entrust PKI as a Service, the default certificate lifetime is 1 year. - For Renew within days, enter the renewal period (in days) for certificates. The renewal period is the number of days before a certificate expires. Certificates that will expire within this period will be renewed.
- For Extended key usage, select the extended key usage extensions that will be included in the issued certificates.
- For Challenge type, select Static and then enter the challenge password defined in the CEG SCEP Service.
- For Certificate Authority, select the issuing CA certificate (Managed CA certificate) that you uploaded earlier.
- (Optional.) For Network type, select the network types that will use the SCEP profile.
- Click SAVE.


