To add Certificate Templates using the Windows graphical interface, complete the following procedure.
- Log in to the server hosting Active Directory as a member of the Domain Admins and Enterprise Admins groups.
- Open Server Manager. Select Start > Server Manager.
The Server Manager dialog box appears. - Select Manage > Add Roles and Features.
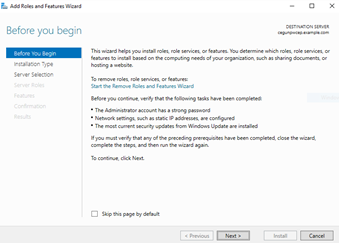
The Add Roles and Features Wizard dialog box appears. - If the Before you Begin page appears, click Next.
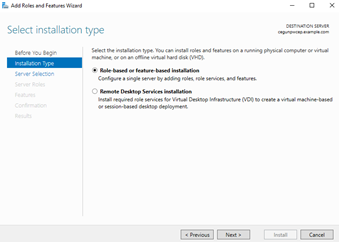
The Select installation type page appears. - Select Role-based or feature-based installation.
- Click Next.
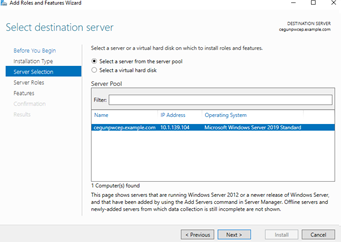
The Select destination server page appears. - Click Select a server from the pool.
- In the Server Pool list, select the server.
- Click Next.
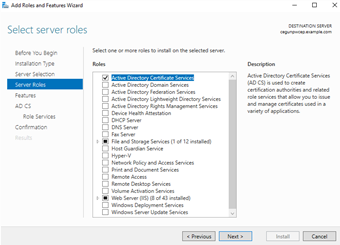
The Select server roles page appears. - Select Active Directory Certificate Services.
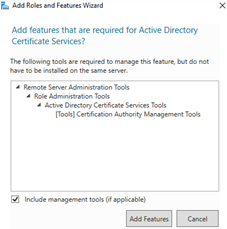
Another Add Roles and Features Wizard dialog box may appear, informing you that some features are required for Active Directory Certificate Services. - Click Add Features to add these required features and close the dialog box.
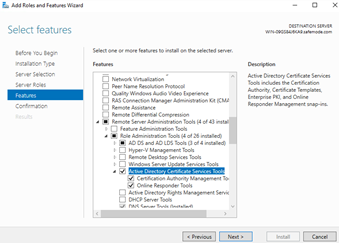
- Click Next. The Select features dialog box appears.
- Expand Remote Server Administration Tools > Role Administration Tools, then select Active Directory Certificate Services Tools.
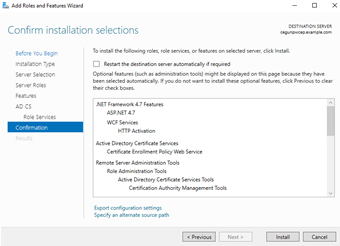
- Click Next. The Confirm installation selections page appears.
- Click Install. The Installation Progress page appears.
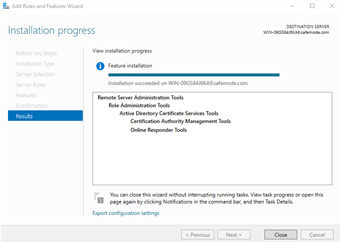
A progress indicator displays the progress of the installation. After the roles and features are installed, a success message appears. - Click Close.
- Run
mmc.exe.
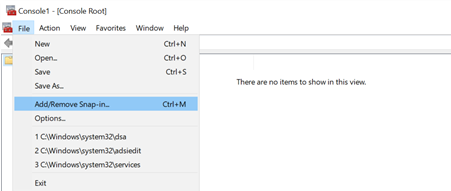
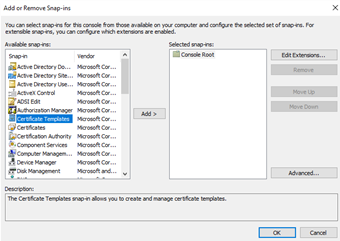
The Microsoft Management Console appears. - Select File > Add/Remove Snap-in. The Add or Remove Snap-ins dialog box appears.
- In the Available snap-ins list, select Certificate Templates.
- Click Add.
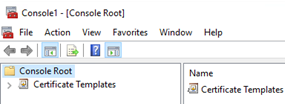
- Click OK to close the Add or Remove Snap-ins dialog and return to the Microsoft Management Console.
- Select Certificate Templates.
A dialog will appear, prompting to install the certificate templates. - Click Yes to install the templates.

